Following the success of the Comic Workshop at this year’s Latitude festival for Culture Works East I was contacted by Oliver Payne at Musical Keys (Both organisations are based in the same building!) who thought it would be a great fit for Fast Forward, a project Musical Keys runs in partnership with NANSA and the Open Youth Trust.
Who attended the comic drawing workshop?
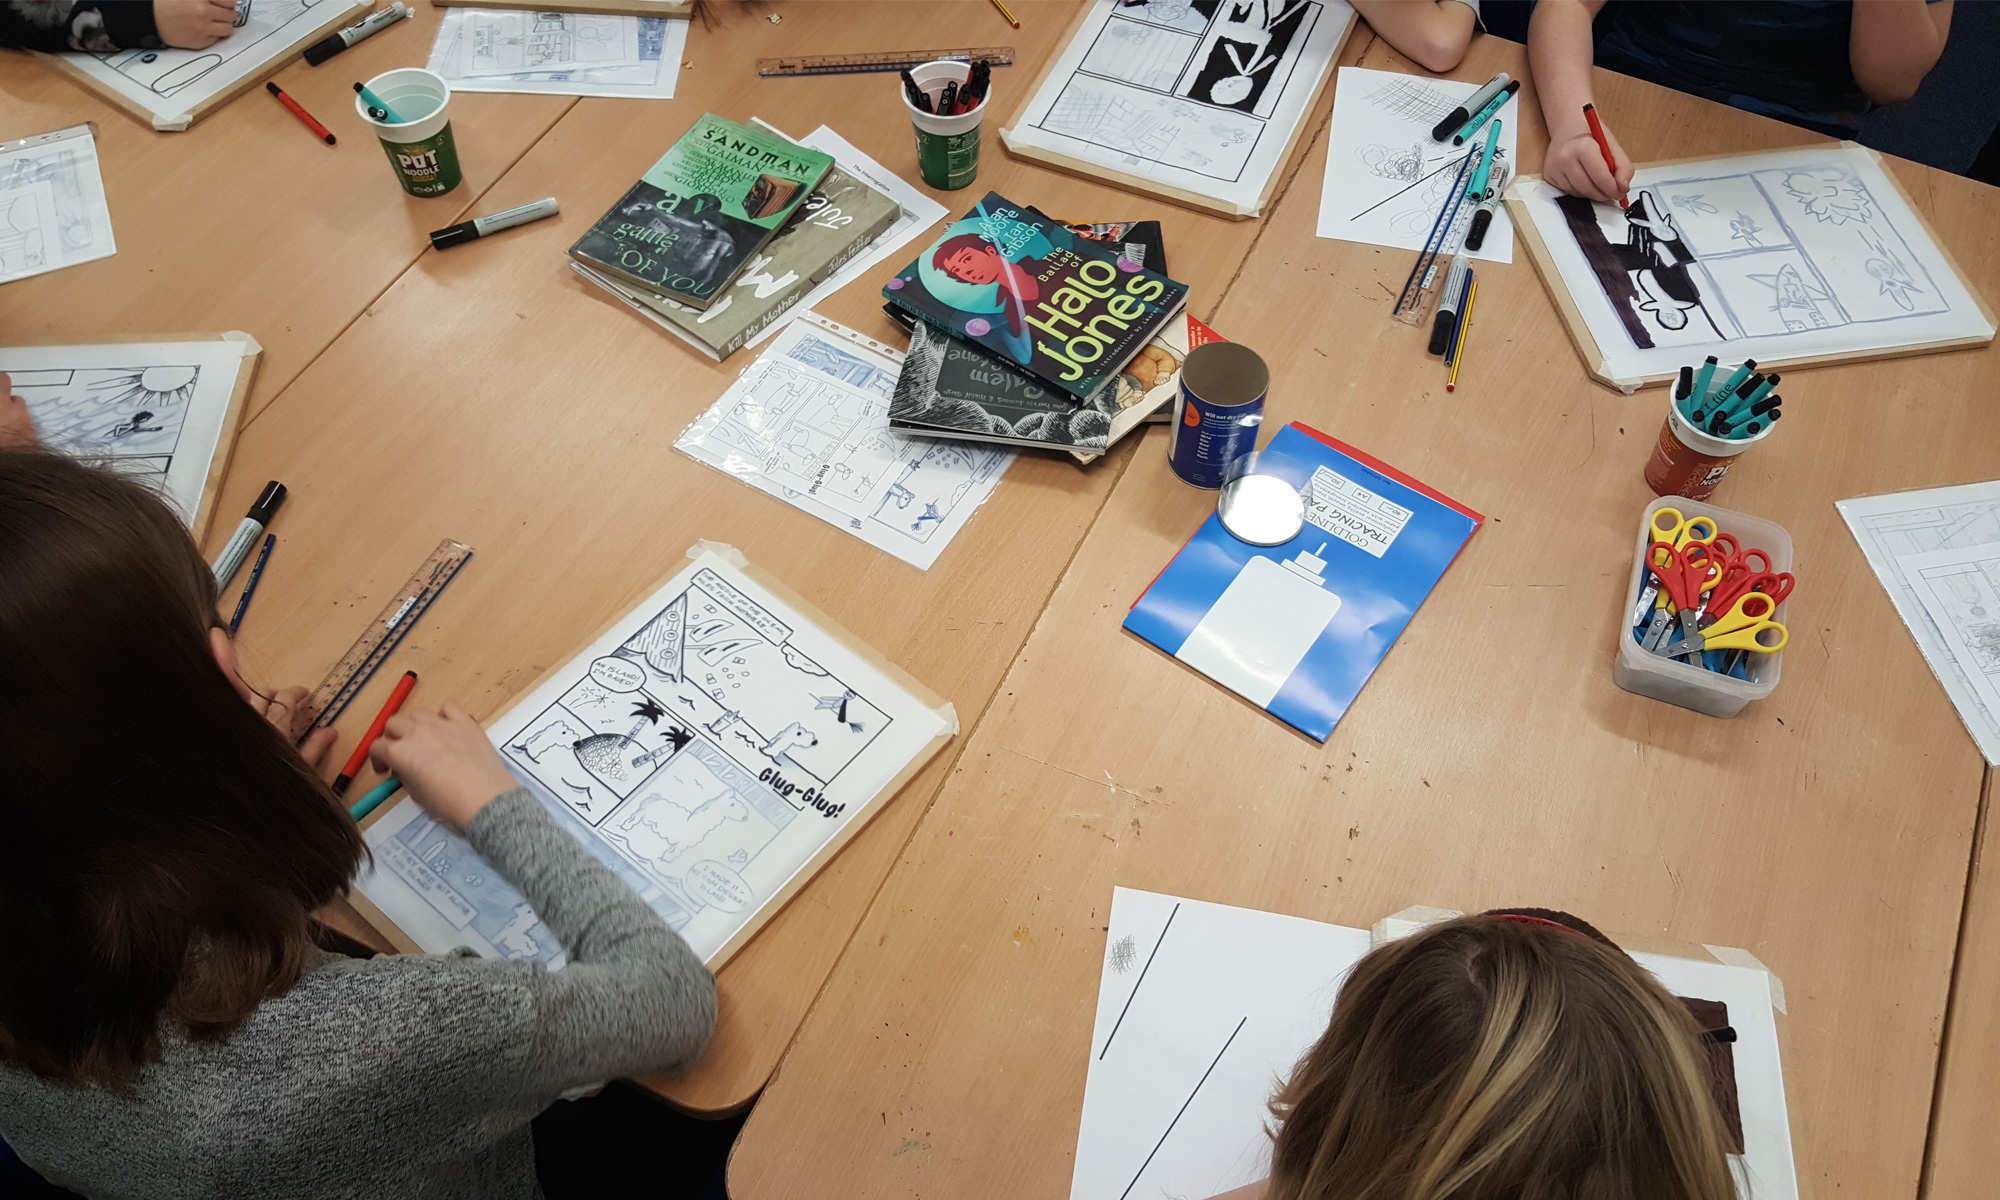
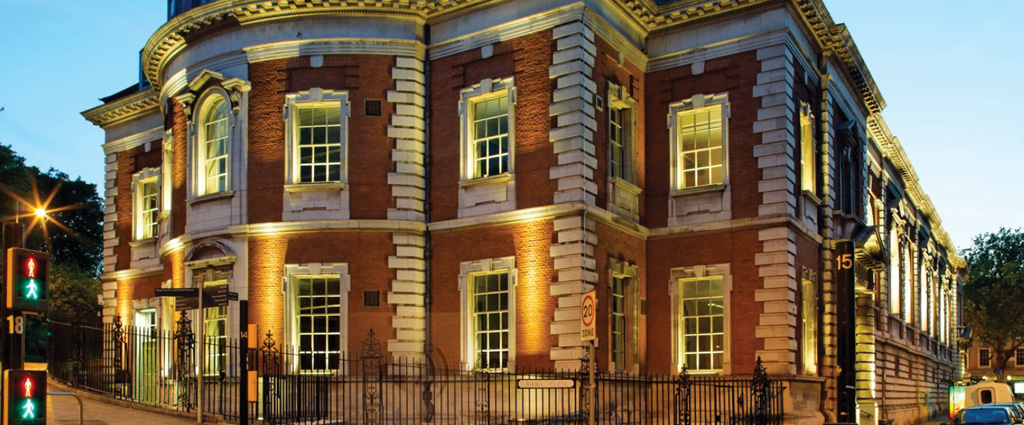
Fast Forward is a series of activities being run over 12 months at OPEN, a brilliantly equipped venue in the centre of Norwich. The project offers a range of activities for young people aged 11 to 25 on the “edge of disability services” – a good cross section of which attended the four weekly comic drawing sessions that I provided.
How the Workshop went
As you’d expect with a group of young people there was a lot of fun and energy during the workshops – manifesting itself at one point in the form of a impromptu rap battle on the relative merits of various first person perspective shoot-em-ups (I can’t recall which was deemed the victor).
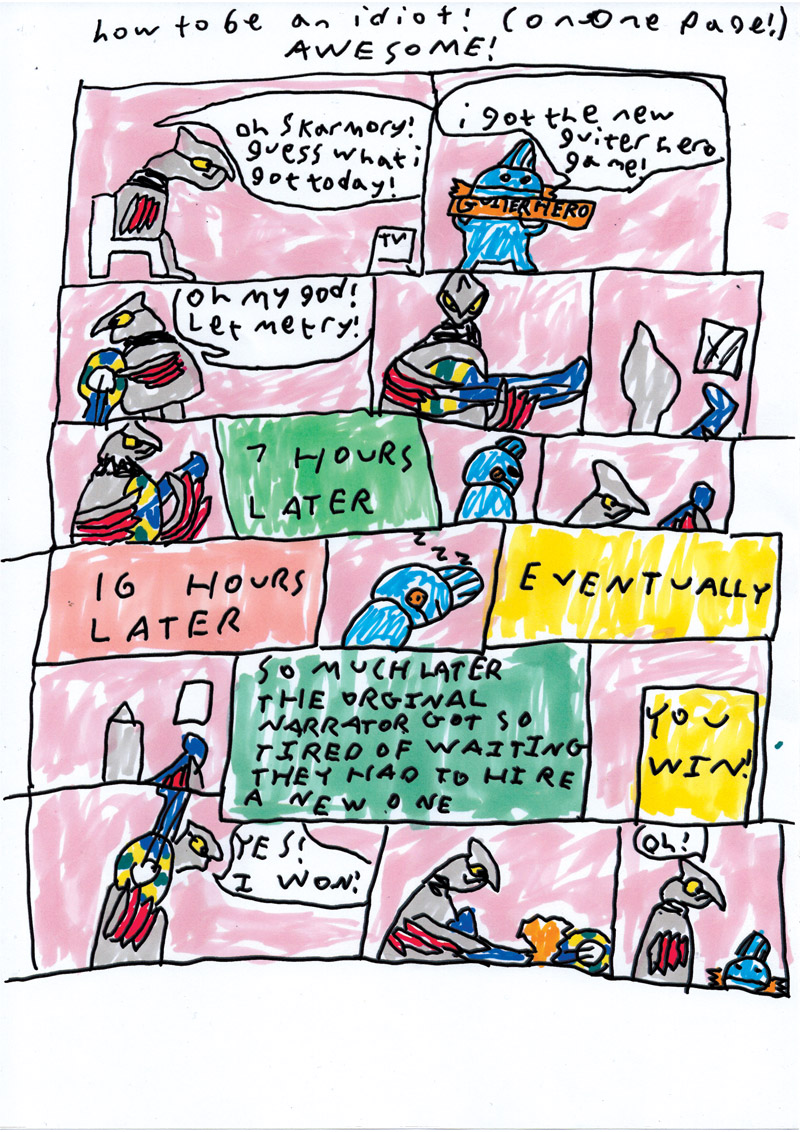
A number of innovations took place in this series of workshops – I gave the artists the option of working in teams on multi-page stories (usually everyone creates their own one page story), so we ended up with a couple of 4 page stories which was great!
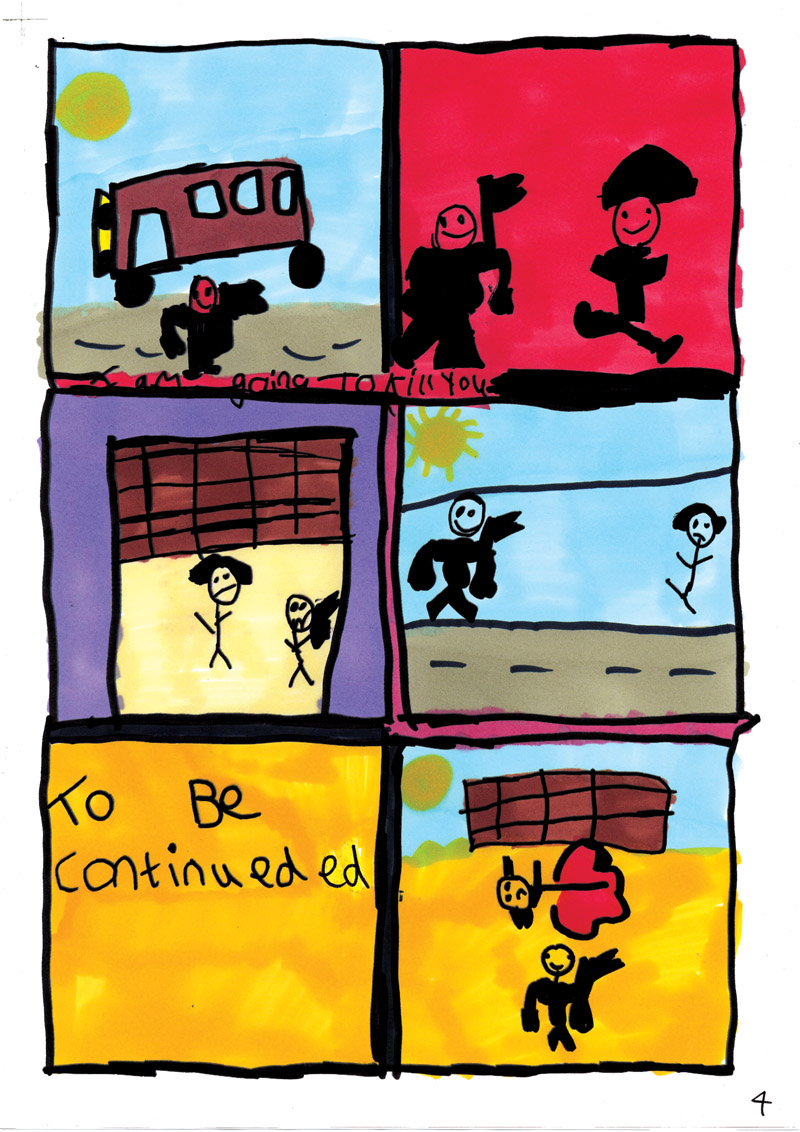
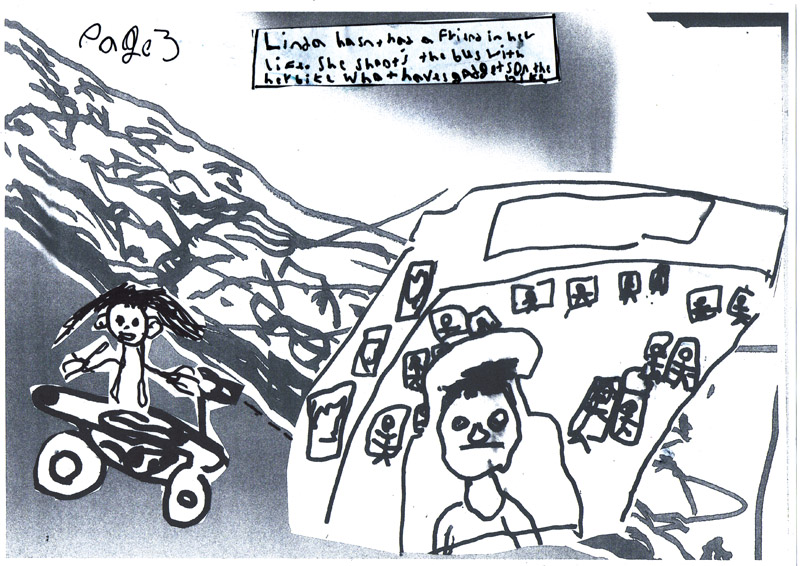
With the help of Ian Brownlie, one of Musical Keys regular facilitators, one of the teams (one of whom is partially sighted) experimented with collage and photocopying to create a really exciting piece of post-apocalyptic fiction!
Feedback from the artists
Here are just some of the comments left by artists on the workshop:
What really struck you as interesting or surprising during this workshop?
“How many stages there was to creating a comic”
“I think how the story came along + planned”
“Everyone working together on a comic”
What is the one idea that you will use in future as a result of this workshop?
“Do not rush a drawing although there is many stages, it is about the perfection and drawing not the time it takes”
“I’ll trace some of my friend Amie’s pictures”
What part of the workshop was most useful to the way you work?
“Teamwork – creating a page each to do with the same story”
“Getting ideas from other people”
Want to experience a Comic Creation Workshop yourself?
If you’re interested in attending one of my Comic Creation Workshops, or are considering hosting one an at your organisation go ahead and get in touch!
DBS checks, policies and insurances are in place to ensure safety when working with children and vulnerable adults.
Workshop running time, features and price can be configured to suit your organisation or groups needs.
In winter 2014 I was invited by the Senior Events Coordinator at Barrington Farm, a day service centre for adults with learning difficulties, to hold a Sequential Art Workshop in their fantastic Art Barn.
I was given 3 days to show them how to write a script, draw, ink and colour a comic page each.
Their comic pages would then get professionally lettered and printed as an A5 comic so they could all have a copy with some left over for distribution or sale.
So, at the end of Feb 2015, I rolled up with my box of paper, pens and drawing boards ready to make some comics!
Barrington Farm is an independent day services centre project near Walcott in North Norfolk. It’s an amazing place encouraging integration into the community for people with a wide range of learning difficulties.
The Art Barn itself is a beautifully renovated farm building (a barn, unsurprisingly!) – a really pleasant and inspiring space to work in.
The group of clients I worked with comprised a range of abilities – all active and motivated artists, regularly exhibiting and selling work at local and national events.
Day 1: Writing a comic script
A clear, simple script of what each comic panel needs to show and say is essential.
This can be the trickiest part of the workshop (artists tend to want to dive in with the drawing!) but it can also be loads of fun and really exciting!
Some workshops I hold each artist works on a story told over multiple pages, but in this case everyone was doing a self-contained story on just a single page.
It sounds simple, but it requires great focus!
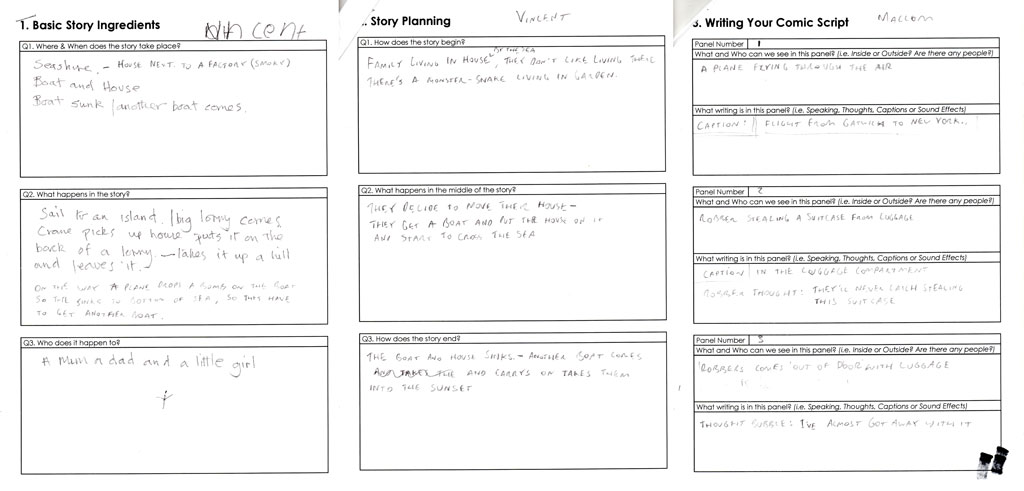
The story writing worksheets
Using the odd worksheet and a lot of wild gesticulation (mainly emanating from me), the group started work on deciding the following things about their story:
Where and when will the story take place?
Who will the story involve or happen to?
What will happen to them?
Once everyone had that information down we moved onto planning a beginning, middle and end for each story – remembering that it would need to be told in a maximum of 8 or 9 panels!
At the end of the session, by hook or by crook, everybody had a simple script for their comic book page describing what images and text were required in each panel.
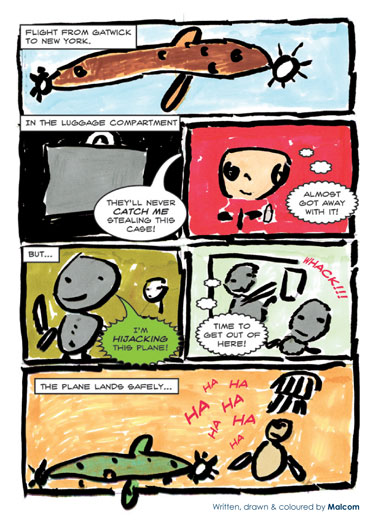
An amazing range of stories resulted – ranging from Beano-style superhero pastiche to childhood recollections. One of the stories could safely be described as Diehard On A Plane in 6 panels!
Day 2: Pencilling the comic strip
Chris’ final pencil drawing for his comic book page
Day two involved a lot of drawing!
Often in large scale comic production each part of the process is done by different people – The “Penciller” (the artist who does the initial pencil drawing) is often not responsible for the ink drawing that you see in the final printed copy (this is done by the “Inker”).
With a big group working on a long, continuous story I might use this production-line approach, but for Barrington farm it was important that each client felt ownership of their page – so each artist did it all!
Script writing
Pencilling
Inking and colouring
I always encourage everyone to start drawing as roughly as possible – planning out the characters or objects appearing in each panel as rudimentary shapes, remembering to take account of any captions or text which also needs to appear in the panel.
The size of these initial rough sketches range from actual size of the final comic page (A5) down to quarter of that size (Often called a thumbnail sketch) – whatever works best for the artist.
The rough sketch is then photocopied, expanded and printed out on an A3 sheet which can then be traced, adding details and refining the drawing.
This process of starting rough then copying &resizing and then redrawing & refining is crucial to the comic creation process and a valuable discipline which students can apply to other areas of their work and lives.
Day three: Inking and colouring
In order to come out looking really good in print, comics need a bit more contrast than just pencil on paper – this is where Inking comes in.
By the end of Day 2 all the artists had a final A3 pencil drawing of their comic book page ready for inking using some fantastic pens that I bring along to every workshop.
But wait! – If you start drawing in pen straight onto a lovely pencil version and make a mistake or don’t like the end result, you’d have to start all over again with a new pencil drawing!
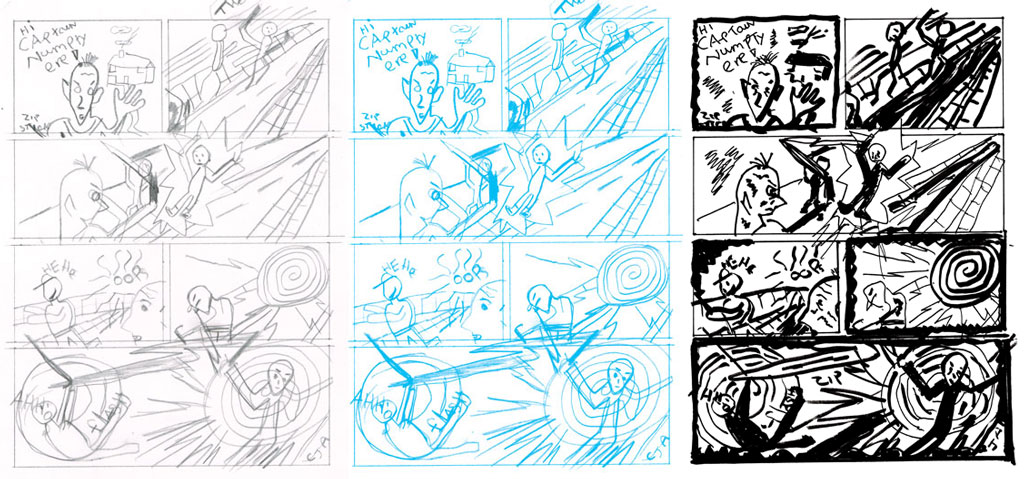
To get around this I scan the A3 pencil drawings and, using a bit of Photoshop jiggery-pokery (that’s a technical term), convert all the black pencil lines to a nice blue colour.
The original pencil drawing (left) and blue line version (middle) & final inked image (right) ready for inking.
There are a couple of reasons for creating a blue line version of the pencil drawing;
Black ink can be applied over the top of the blue line version, and if any accidents occur another Blue line copy can be printed out.
Once the inking is complete, the final sheet can be scanned and then (again, using Photoshop jiggery-pokery) any blue still remaining can be removed, leaving only the black ink!
The client’s final inked pages were scanned and printed out again (rest assured, I only use recycled or Carbon neutral paper!), with the contrast turned down, ready for colouring done using some more pretty cool pens which I brought along with me.
By the end of the day everyone had inked and coloured their comic book pages ready for lettering.
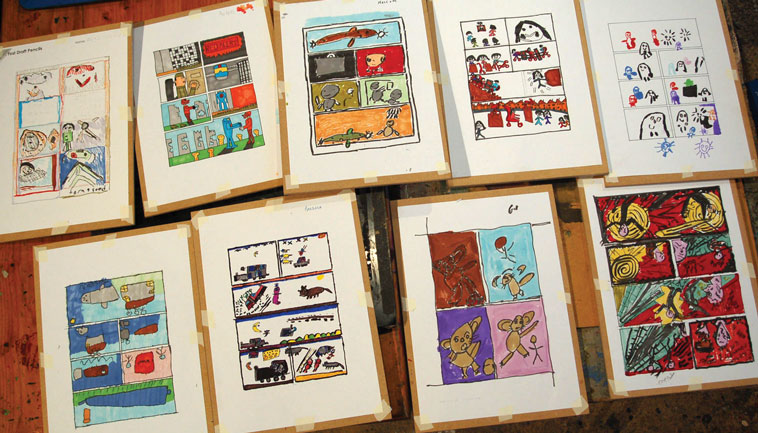
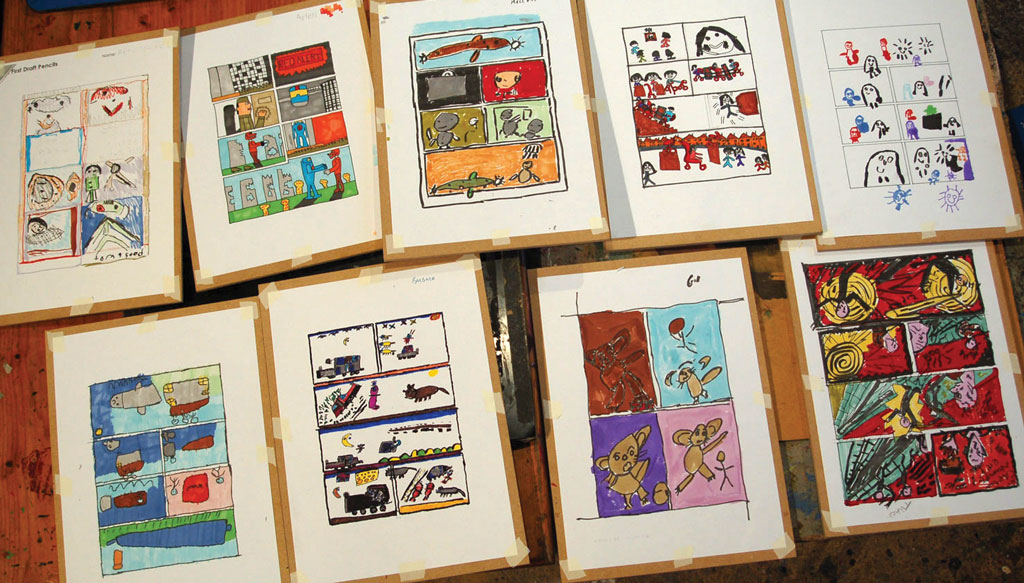
The final coloured comic artwork still on drawing boards
Lettering the Final Comic Book
Back in my lair, during an extended period of tea drinking and postproduction, all the final inked and coloured pages were cleaned up, composited, lettered and arranged in a comic book layout ready to be sent to the printers.
The great thing about these workshops is that I think I probably learn as much as those I’m teaching!
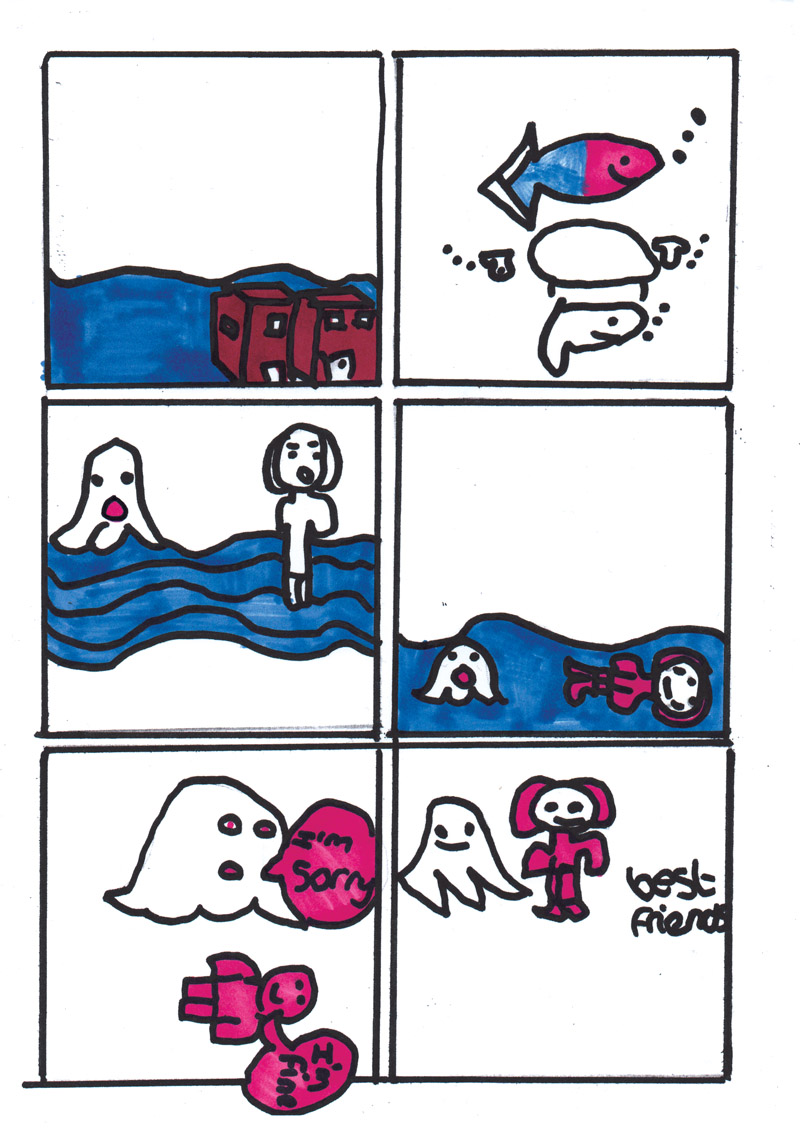
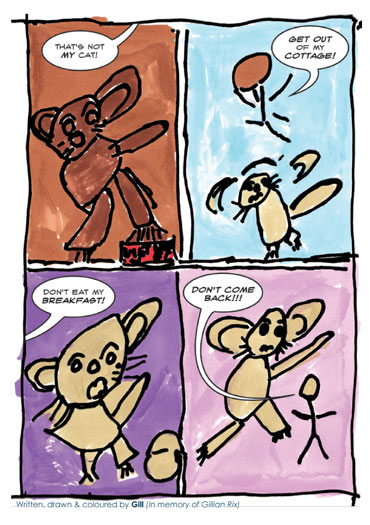
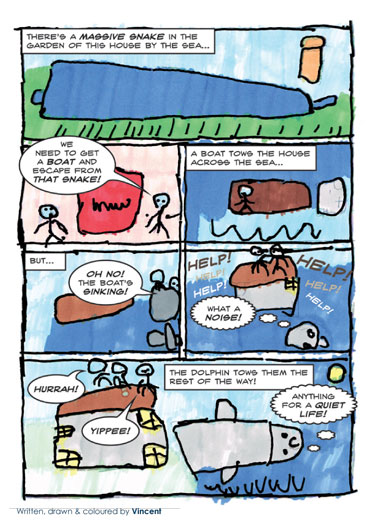
Here’s a few pages of the comic book to give you a flavour of what the group achieved.
Download your Free copy of the finished Comic Now!